Getting Started
Creating a Simple Terrain in the 2D View
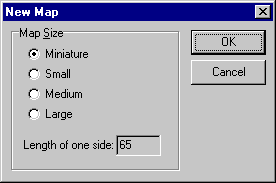
- Go to the File menu and click New.
The New Map window will appear.

- Select Miniature and press OK.
You will now have a blank terrain. This terrain is entirely at sea-level.
- Press the button
 on
the Selection Toolbar
(or go to the Selection menu and click Rectangular).
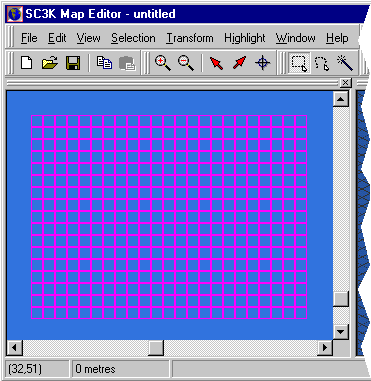
 - Position the mouse cursor somewhere inside the Topological View near the top
left corner. Drag to select a rectangle that extends down towards the bottom right
corner. Your window should now look something like this:

The squares that have a purple outline are currently selected.
- Press the button
 on
the Basic page of the
Transform Toolbar (or go to the Transform menu, down
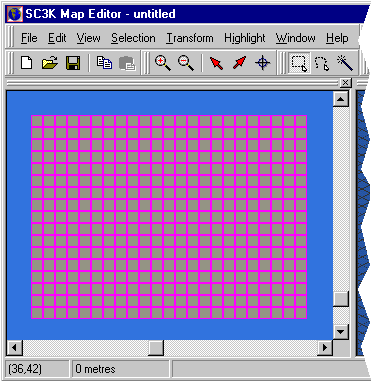
to Basic and then choose Raise By One). This will raise the level of the selected
area by one unit (which is equivalent to approximately 13 metres). Your window should now
look like this:
Back to Editor Basics
Forward to Creating a Simple Terrain in the 3D View