Getting Started
Creating a Gradient
- Go to the File menu and click New.
Select Miniature and press OK.
You will now have a blank terrain which is entirely at sea-level.
- Press the button
 on
the Selection Toolbar
(or go to the Selection menu and click Rectangular).
 - Select a large rectangular area in the middle of the Topological View.
- Press the button
 on
the Basic page of the
Transform Toolbar (or go to the Transform menu, down
to Basic and then choose Gradient). The gradient window should appear.
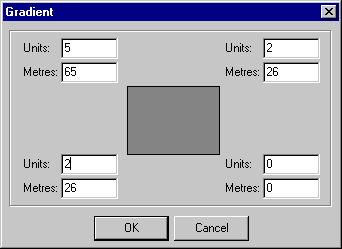
 - The value at each corner of the rectangle represents the new height for each corner of your
selection. A value of 0 is sea-level, and each unit is equal to approximately 13 metres.

Enter the values 5, 2, 2 and 0 into the unit edit boxes as shown in the image above.
Press OK.
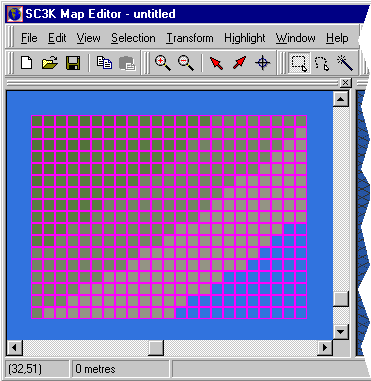
- The map editor will create a smooth gradient inside the selection corresponding
to the values you specified. Your window should now look similar to this:

- Try experimenting with other values for the gradient.
Back to Creating a Simple Terrain
Forward to Manipulating the Selection