Getting Started
Creating a River
- Go to the File menu and click New.
Select Miniature and press OK.
You will now have a blank terrain which is entirely at sea-level.
- Go to the Selection menu and choose Select All.
- Go to the Transform menu, go down to Basic and select Set Level.
Sea level is the value 0, so type in 2 (which is 26 metres above sea level) and press OK.
- Go to the Selection menu and choose Freeform Options.
Type in 3 and press OK.
- Press the button
 (or go
to the Selection menu and pick Freeform).
(or go
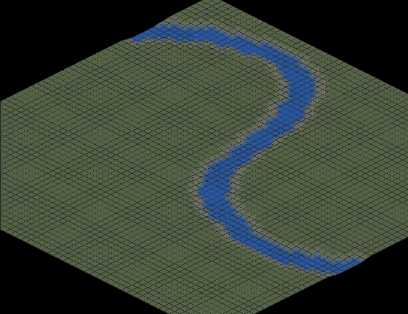
to the Selection menu and pick Freeform). - In the left hand pane, hold down the mouse button and trace out a path for the river
similar to the one below.
- Go to the Transform menu, go down to Basic and select Lower By One.
- Go the Selection menu and pick Grow.
- Go to the Transform menu, go down to Basic and select Lower By One.

- Repeat the two previous steps until the river has the desired shape.
You can also try going to the Selection menu and choosing Shrink instead of Grow.
Back to Manipulating the Selection
Forward to Creating a Volcano